I know I don’t usually post about food and cooking because to me, the mindset stuff is way juicier, but I was inspired to share this cooking technique that I shockingly embraced last year in culinary bootcamp at Stella Culinary in Lake Tahoe.
Even the name of this technique sounds so boring, but believe me when I tell you, it’s a total veggie game changer.
Drum roll please: It’s BLANCHING
Yep, yawn, but stay with me, because once I started using this technique – especially for bitter veggies like broccoli and Brussels sprouts – these normally ‘meh crucifers turned into savory morsels of delight.
Seriously.
My girls ask for them every week. No lie.
Blanching is kinda like par-boiling. You’re basically getting the veggies to open up and soften a bit so they release their bitterness while creating a firm, but cooked through texture. Before I started blanching, my broccoli was half raw in the middle and burnt at the tips when I roasted it OR it was a mushy olive green hot mess if I boiled it or sauteed it for too long.
Side note: I find that some veggies – especially cauliflower (which I just roasted with EVOO and cumin in the pic below) – really don’t need blanching, so play around and find what works best for your tastes.
I’m going to show you step by step how to blanch and then roast (or saute) veggies and give you some timesaving clean up tips along the way – because what turned me off at the thought of blanching at first was the extra time and dishes involved. But it’s really not that bad – I swear!
Step 1: Mise en place
- This just means get your sh*t together. So grab your veggies, fill a pot with water, add a little salt and bring to a boil, fill a bowl with ice and water and place in the sink and grab your knife, olive oil/salt seasonings, a towel and a hand strainer (I LOVE me a spider strainer which I picked up for a few dollars at HomeGoods).
Step 2: Prep your Veggies
- Chop into any size you want. In these photos, I just trimmed the stubs of the Brussels and sliced in half. For broccoli I just break into florets. Squashes and potatoes cook faster if they’re cut into diced sized cubes, but choose whatever size and shape suits you.
Step 3: Immerse in boiling water
- Carefully place the prepped veggies into the now boiling water all at the same time. This is the blanching process. You have to gauge the amount of time to blanch by the density of the veggie being super careful not to overcook them. They should have a bite to them. I find that winter greens take a half minute, broccoli takes about a minute – or until it turns bright green. Brussels about 2 minutes and starchy root veggies about 3 minutes.
Step 4: Ice Bath
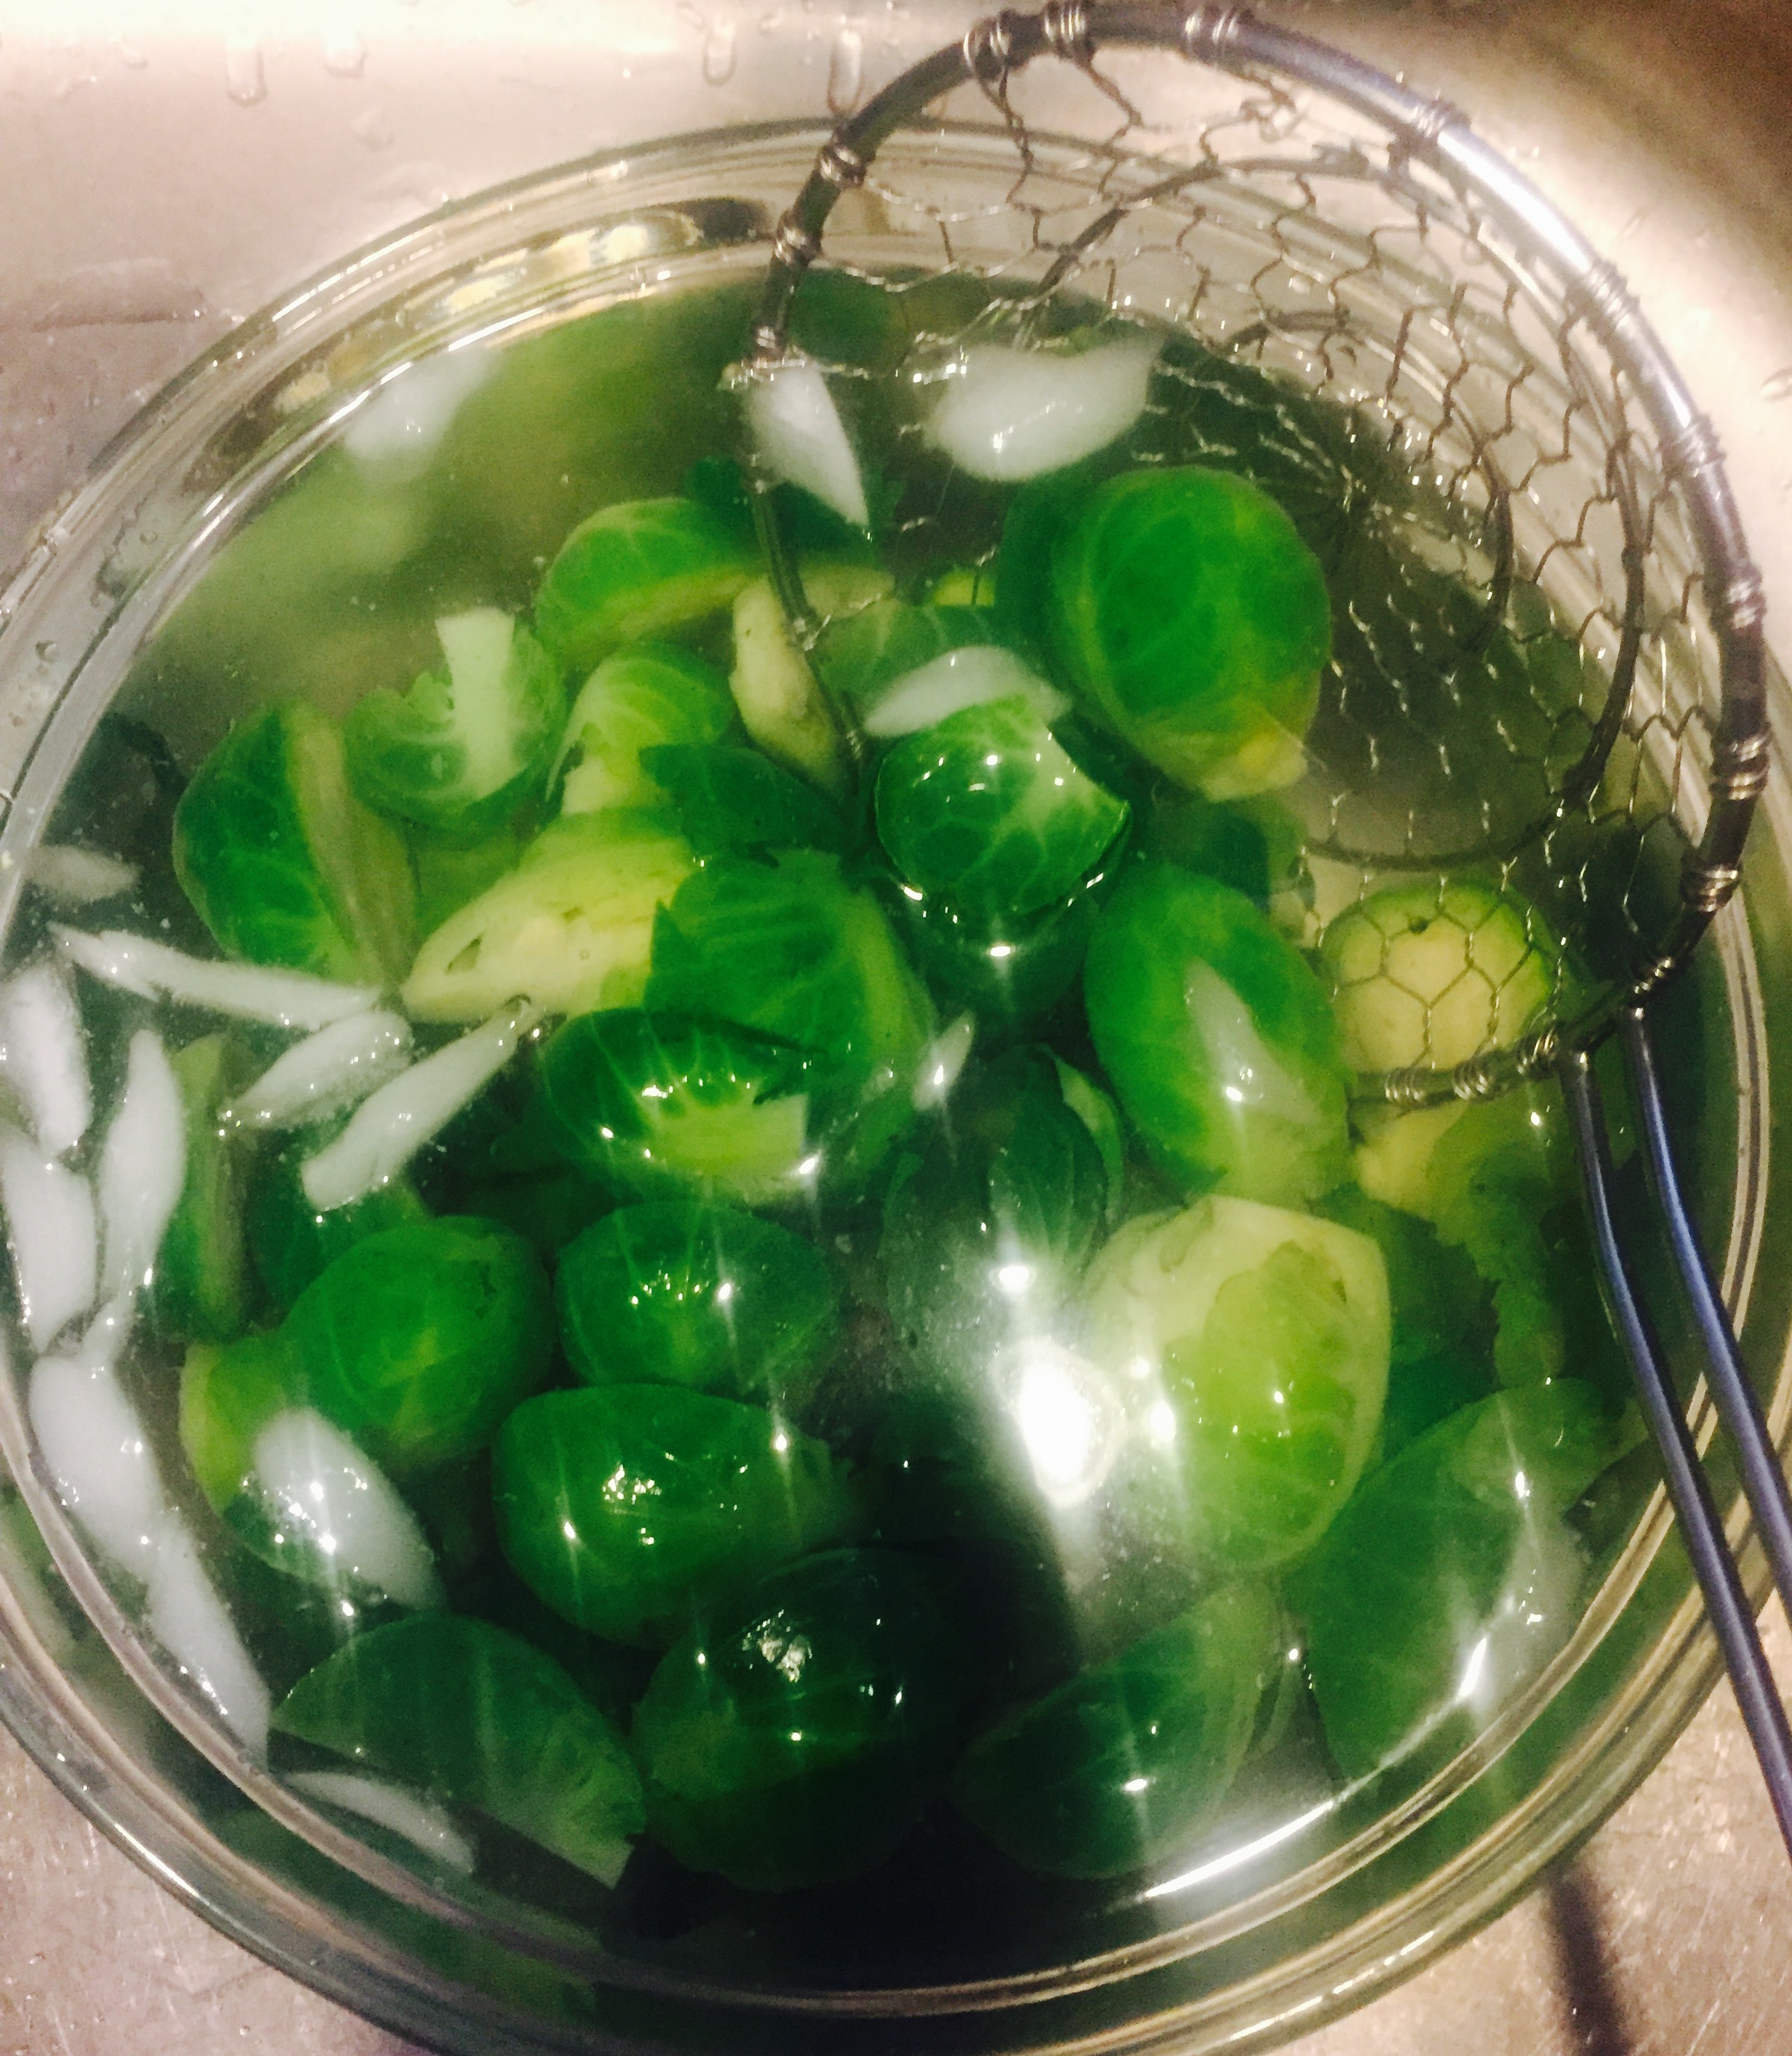
- Once the veggies are at their peak of vibrancy, carefully and quickly strain and plunge into the ice bath. I use the spider strainer to quickly scoop everything into the bowl of ice water to stop the cooking process (you could use a colander too).
Step 5: Strain and Flavorize/ Finish
- Once immersed in the ice water for a minute or two, strain the veggies again and place on a clean towel or paper towel to dry off.
- Now they’re ready for final prep. This is where you add fat and flavor, maybe a little crunch.
- For my Brussels, I preheated the oven to 375. spread the sprouts on a foiled lined cooking sheet and drizzled with olive oil, balsamic, salt and pepper and a sprinkle of chopped walnuts. If my vegetarian daughter wasn’t home, I would’ve added some partially cooked chopped bacon, but alas, she was home so I kept it vegan.:) I roasted these for about 25 minutes. You could roast all your denser veggies like this, just note that hard root veggies will take a little longer or need higher temps (with oils that are better suited for higher temps like animal fats, palm oil or coconut oil).
- For broccoli and hearty greens, I’ll usually saute on the stove over medium heat with EVOO or ghee/butter, a little garlic and lemon, salt and pepper. DI-VINE!
CLEAN UP TIP: After the veggies have cooled off, I give the pot and strainer a quick cleaning, rinse and pat dry and put them away to avoid a dish pile. Cooking on foil or parchment paper also saves washing pans. I’ll reuse the foil with all that flavor to store any leftovers in the fridge too!
LAZY BLANCHING TECHNIQUE: Instead of using a separate bowl of ice and water, sometimes I’ll just drain some of the blanching water into the sink while running cold water into the pot with a few tall cups of ice to cool it down. It does the job too, but you have to be quick and time it right or you risk over cooking the veggies.
OK here’s the finished dish.
So FREAKING GOOD!
OK – Let me hear from you…do you blanch? Will you try it? What are some of your veggie cooking techniques that give you amazing flavor without a lot of time and effort. Share here and we’ll see you next time!
PS: I finally figured out how to open comments (I think) so comment below! 🙂
xo.
Ev


